Cartridge indicates missing/incompatible/incorrect/unsupported/has a problem
If you encounter a blinking light or an error stating that "Ink cartridges not recognized" or "Ink cartridges are installed incorrectly" (Figure 1, Figure 2), please attempt the following procedures as possible solutions to correct the problem
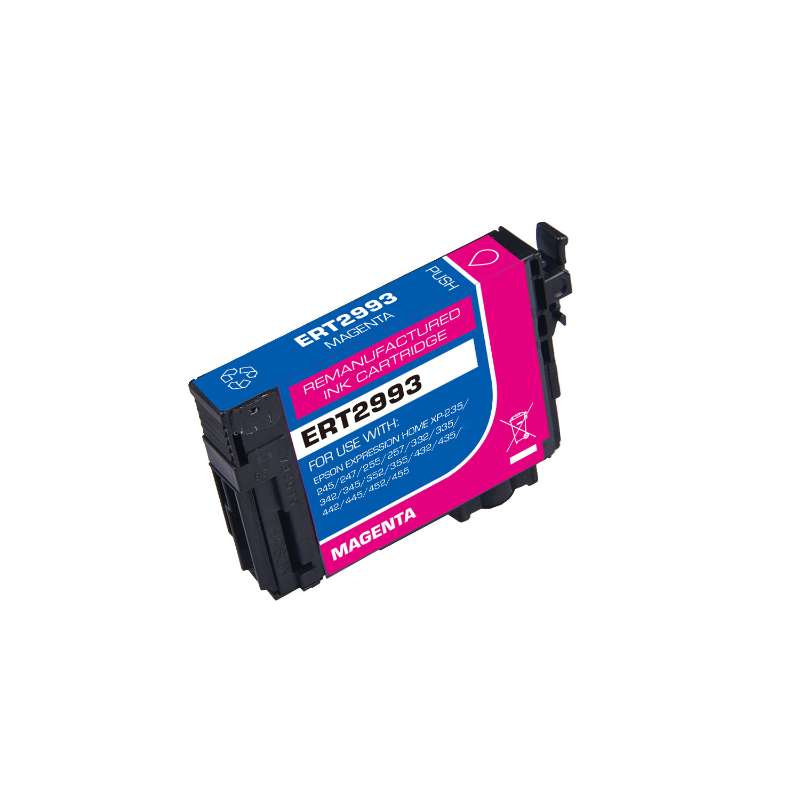
1. Verify that the installed cartridge matches the printer model, however, if you have been printing for a while, there is most likely that your cartridge is out of ink and need to be replaced.
2. After removing the cartridge, confirm that there is a chip intact and in the correct position. If the chip is missing, you should return the cartridge to the place of purchase. If the chip is in place, you may need to remove any type of obstruction or debris, swipe the chip lightly with an eraser , to clear any potential obstruction or debris.
3. If the problem persists after you put the cartridge back in the cradle, this can be solved by turning off the computer and the printer with the cartridge installed. Unplug your printer and let it turn off for 2 minutes. Restart the printer and computer, and try printing again.
If you tried both steps and got the same error, there is most likely an electrical problem with the cartridge and you should return the cartridge to where you purchased it.
Unsatisfactory print or missing colors
If you have printed a document and are not satisfied with the print quality, please remove the cartridge from the printer. You can access the cartridge by following the same procedure as replacing the cartridge. This is usually done by pressing a Series of buttons. If necessary, please consult the printer's user manual for instructions on your printer.
1. After the ink cartridge is removed from the printer, you need to make sure that the pull tab that covers the vent at the top left corner of the cartridge has been removed. You also need to make sure that the silver seal on the bottom of the cartridge has been pierced by the printer.
2. If you have removed the pull tab and the seal has been pierced, please reinstall your cartridge. You may need to perform a cleaning cycle to improve print quality. You can consult your printer's user manual or the manufacturer's website for instructions on how to perform a cleaning cycle on your printer.
3. If the result is still not satisfactory, you can perform another cleaning cycle. Please note that cleaning the printhead does consume ink;and therefore, it should only be done when necessary.
If the print quality is unsatisfactory after the cleaning cycles, let the cartridge sits in the printer for 1 hour. After 1 hour, try printing again. At this point, you may find it helpful to remove the cartridge from the printer and reinstall it, but make sure the print quality is still poor after the cartridge has sat undisturbed for an hour before trying the last step.
If you have followed all of these steps and the print quality is still not satisfactory, you may need to replace the inkjet cartridges.
Always be sure to follow the Manufacturer's instructions to gently shake a replacement cartridge with the print port down 4-5 times while still in the sealed bag before installing into your printer as this may help to prevent print quality issues
Message stating
If you encounter an error message stating that "Non-genuine ink detected" (Figure 1)
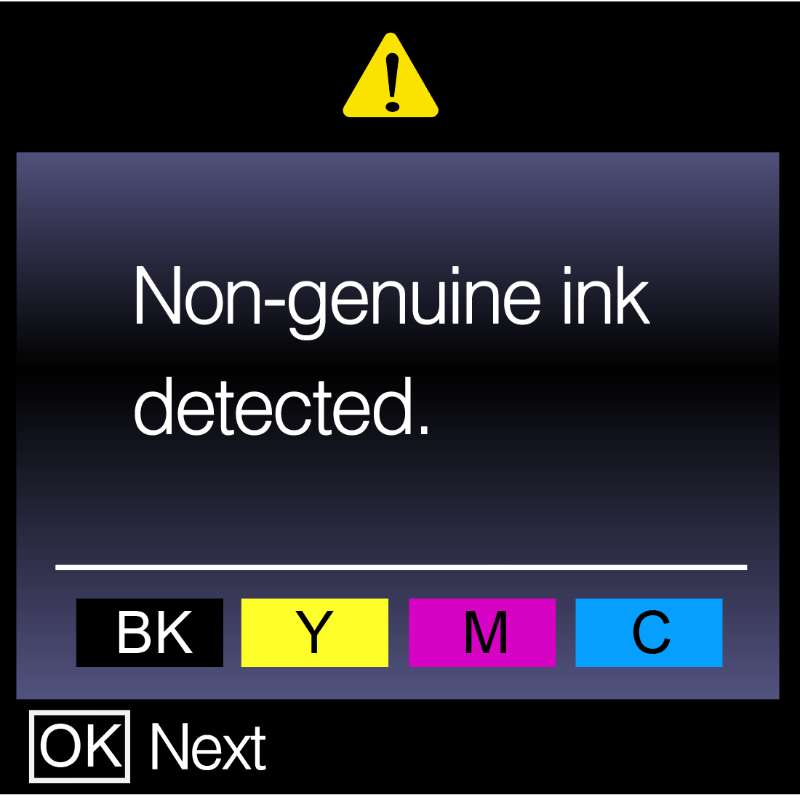
, you will need to continue through this error message to allow your printer to print your document.
Just follow the on-screen instructions to continue viewing this error message (if applicable) and select "Continue".
If prompted to continue using this ink, be sure to select "Yes" (Figure 2)
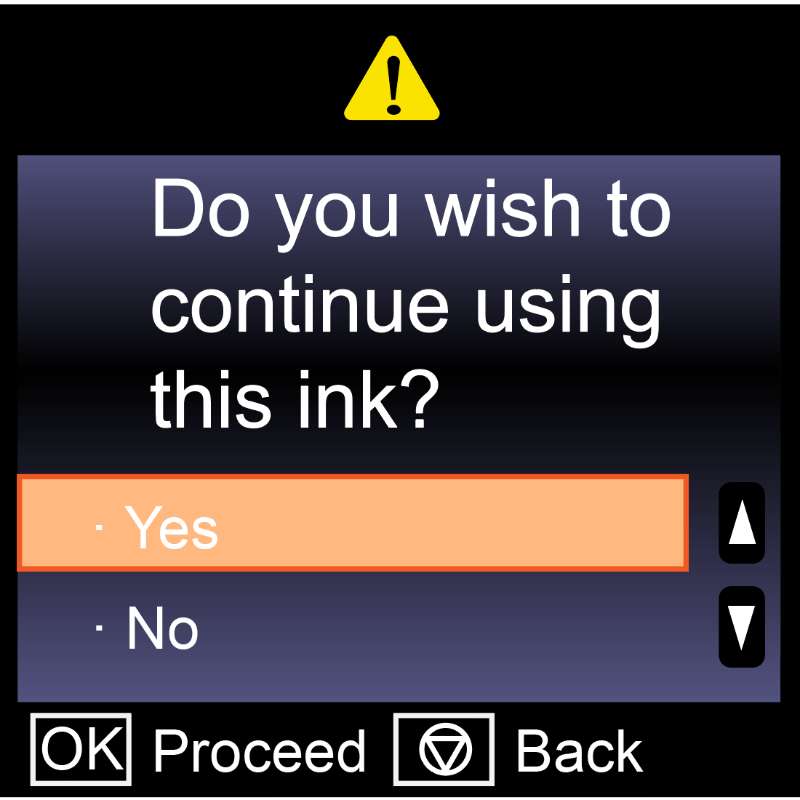
. Selecting "No" will not allow your printer to use these ink cartridges.
My Cartridge Does Not Snap Into Place
If you are experiencing the cartridge not snapping into place, try the following steps as possible solutions to resolve the issue:
1. First make sure the chip is intact and in the correct position, if the chip is missing, return the cartridge to the place of purchase. If the chip is in place, you may need to clear any type of obstruction or debris.
2. Replace the cartridge in the cradle, making sure the cartridges are aligned with each other, if the ink cartridges are not aligned with the other ink cartridges, remove and reinstall them until all the cartridges are aligned.
3. If there is resistance in the process of installing the ink cartridge, please push it forward with slight force to ensure that the silver seal at the bottom of the ink cartridge has been pierced.