
If you receive an error message stating that the "The printer was unable to detect or read the alignment page" (Figure 1), this may indicate that the printer is not properly recognizing the cartridge.
Remove the cartridge from the printer and locate the chip. Make sure the chip is in place (Figure 2). Please remove any obstruction or debris as this may prevent the alignment from completing.
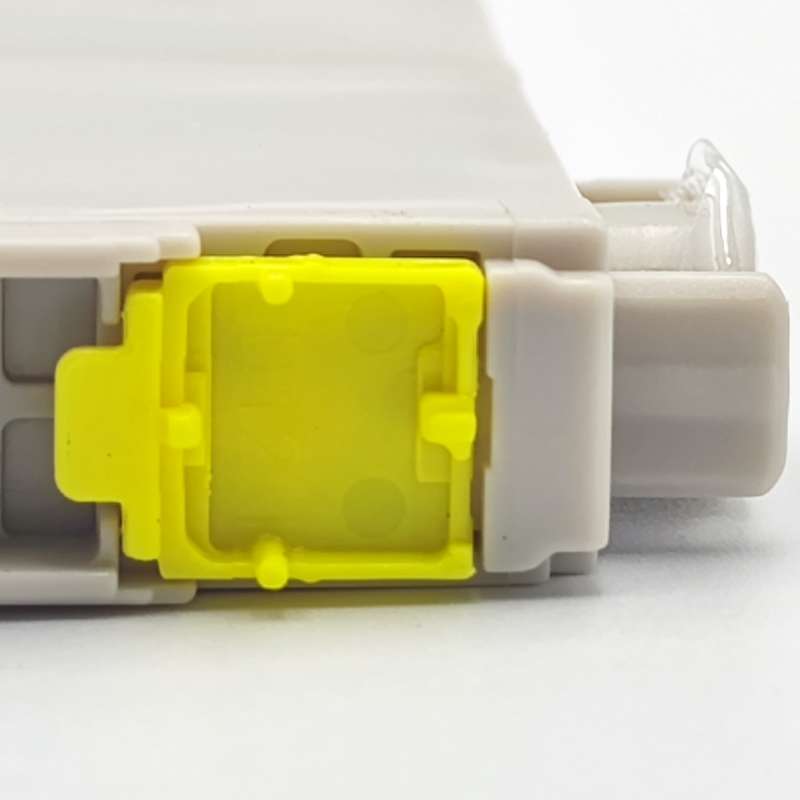
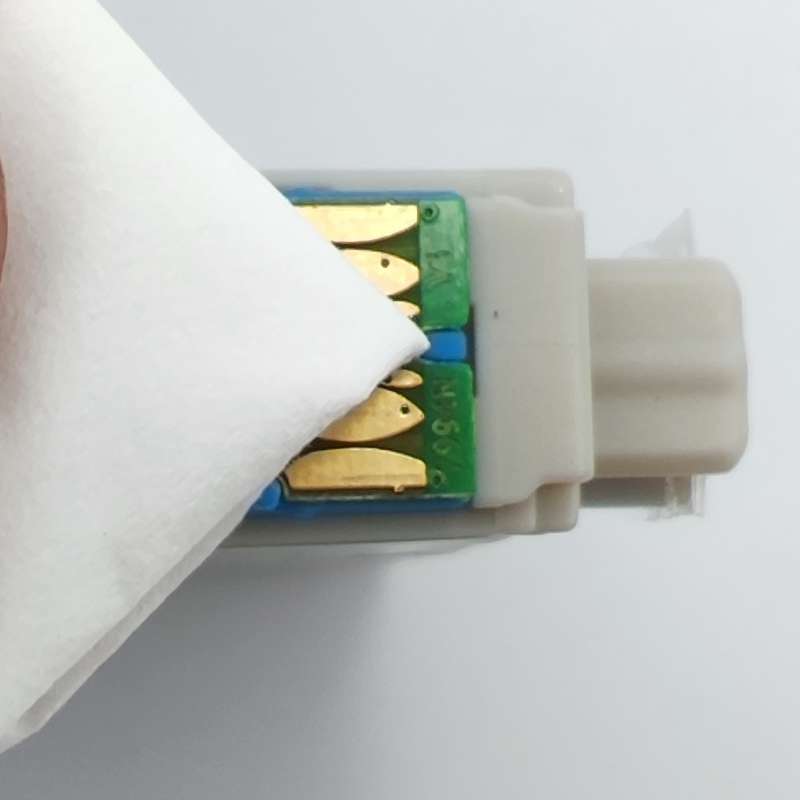
Gently wipe the chip with a lint free cloth to remove any obstruction or debris (Figure 3). Gently pull the tap on the front of the ink cartridge to help the ink cartridge fit into the printer properly. Reinstall the cartridge into the printer and try the alignment process again. If the error persists, it may be necessary to perform a "Head Cleaning" to improve the print quality (Figure 4) and complete the alignment process. Every printer is different, so please consult your printer's user manual for instructions on performing a "Head Cleaning" on your printer. If you cannot perform the "Head Cleaning", or if the alignment fails even after performing the "Head Cleaning", please make sure the scanner glass is clean and free from fingerprints or debris (this is only available on certain models). If these steps do not allow the printer to align the ink cartridges, you will need to return the ink cartridges to the place of purchase.
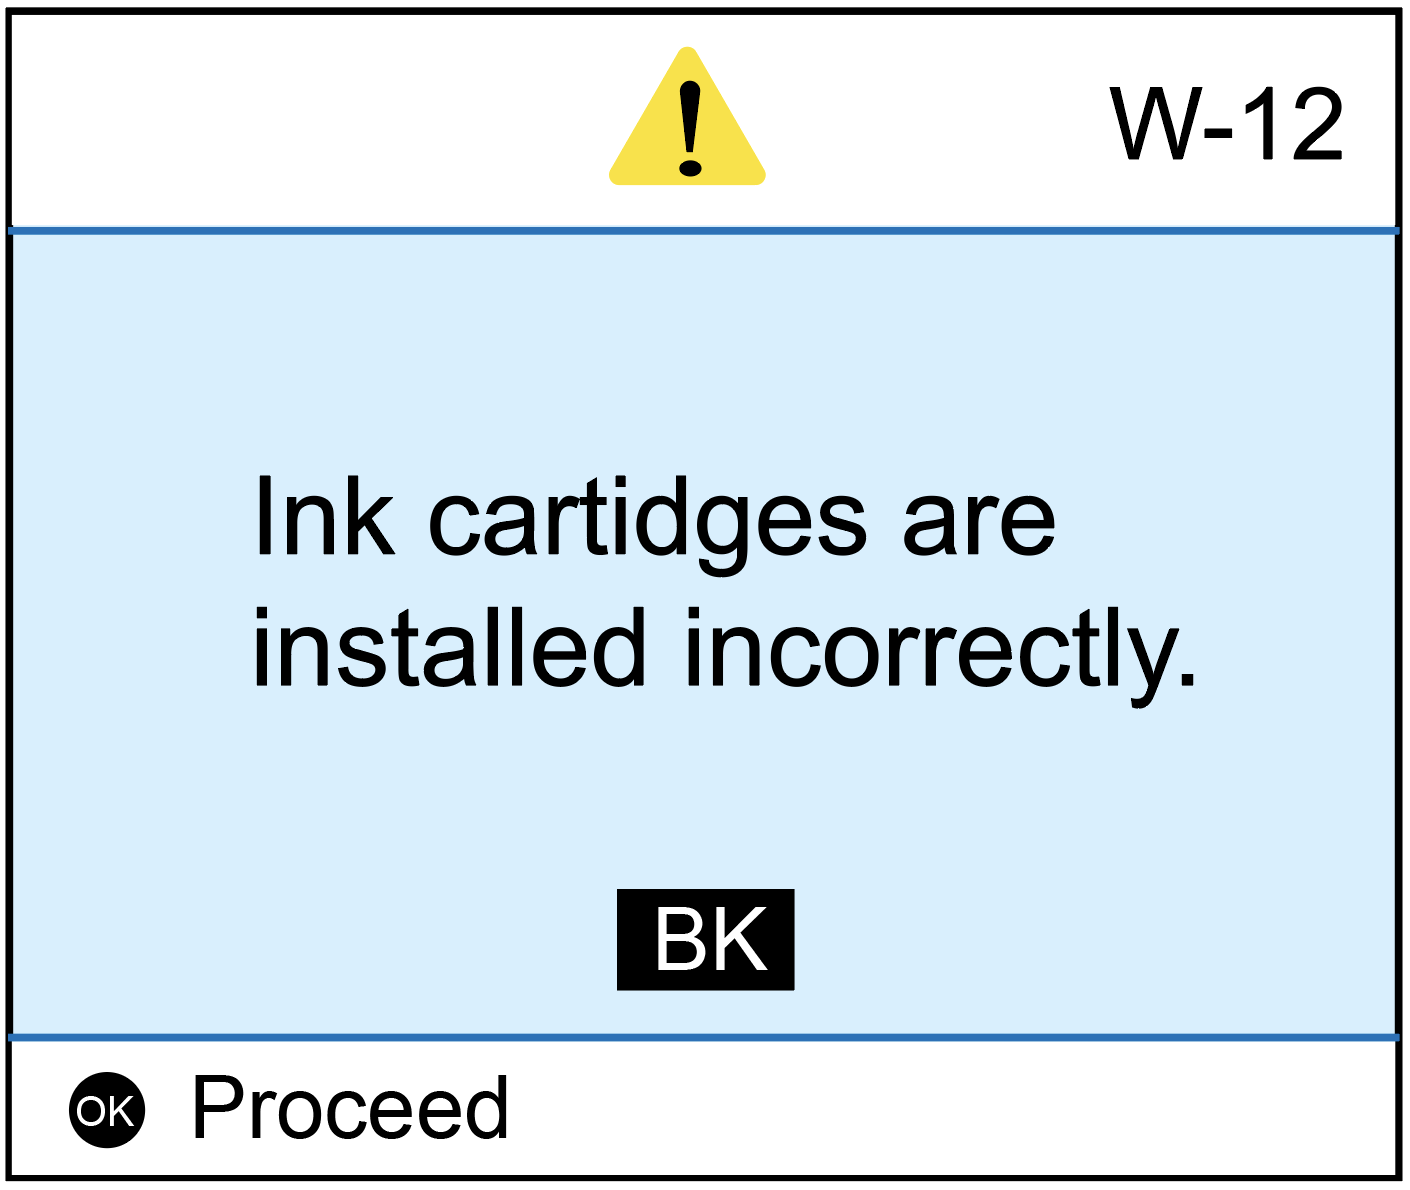
If you encounter an error message stating that "Ink cartridges are intalled incorrectly" (Figure 1), please try the following steps as possible solutions to resolve the problem.
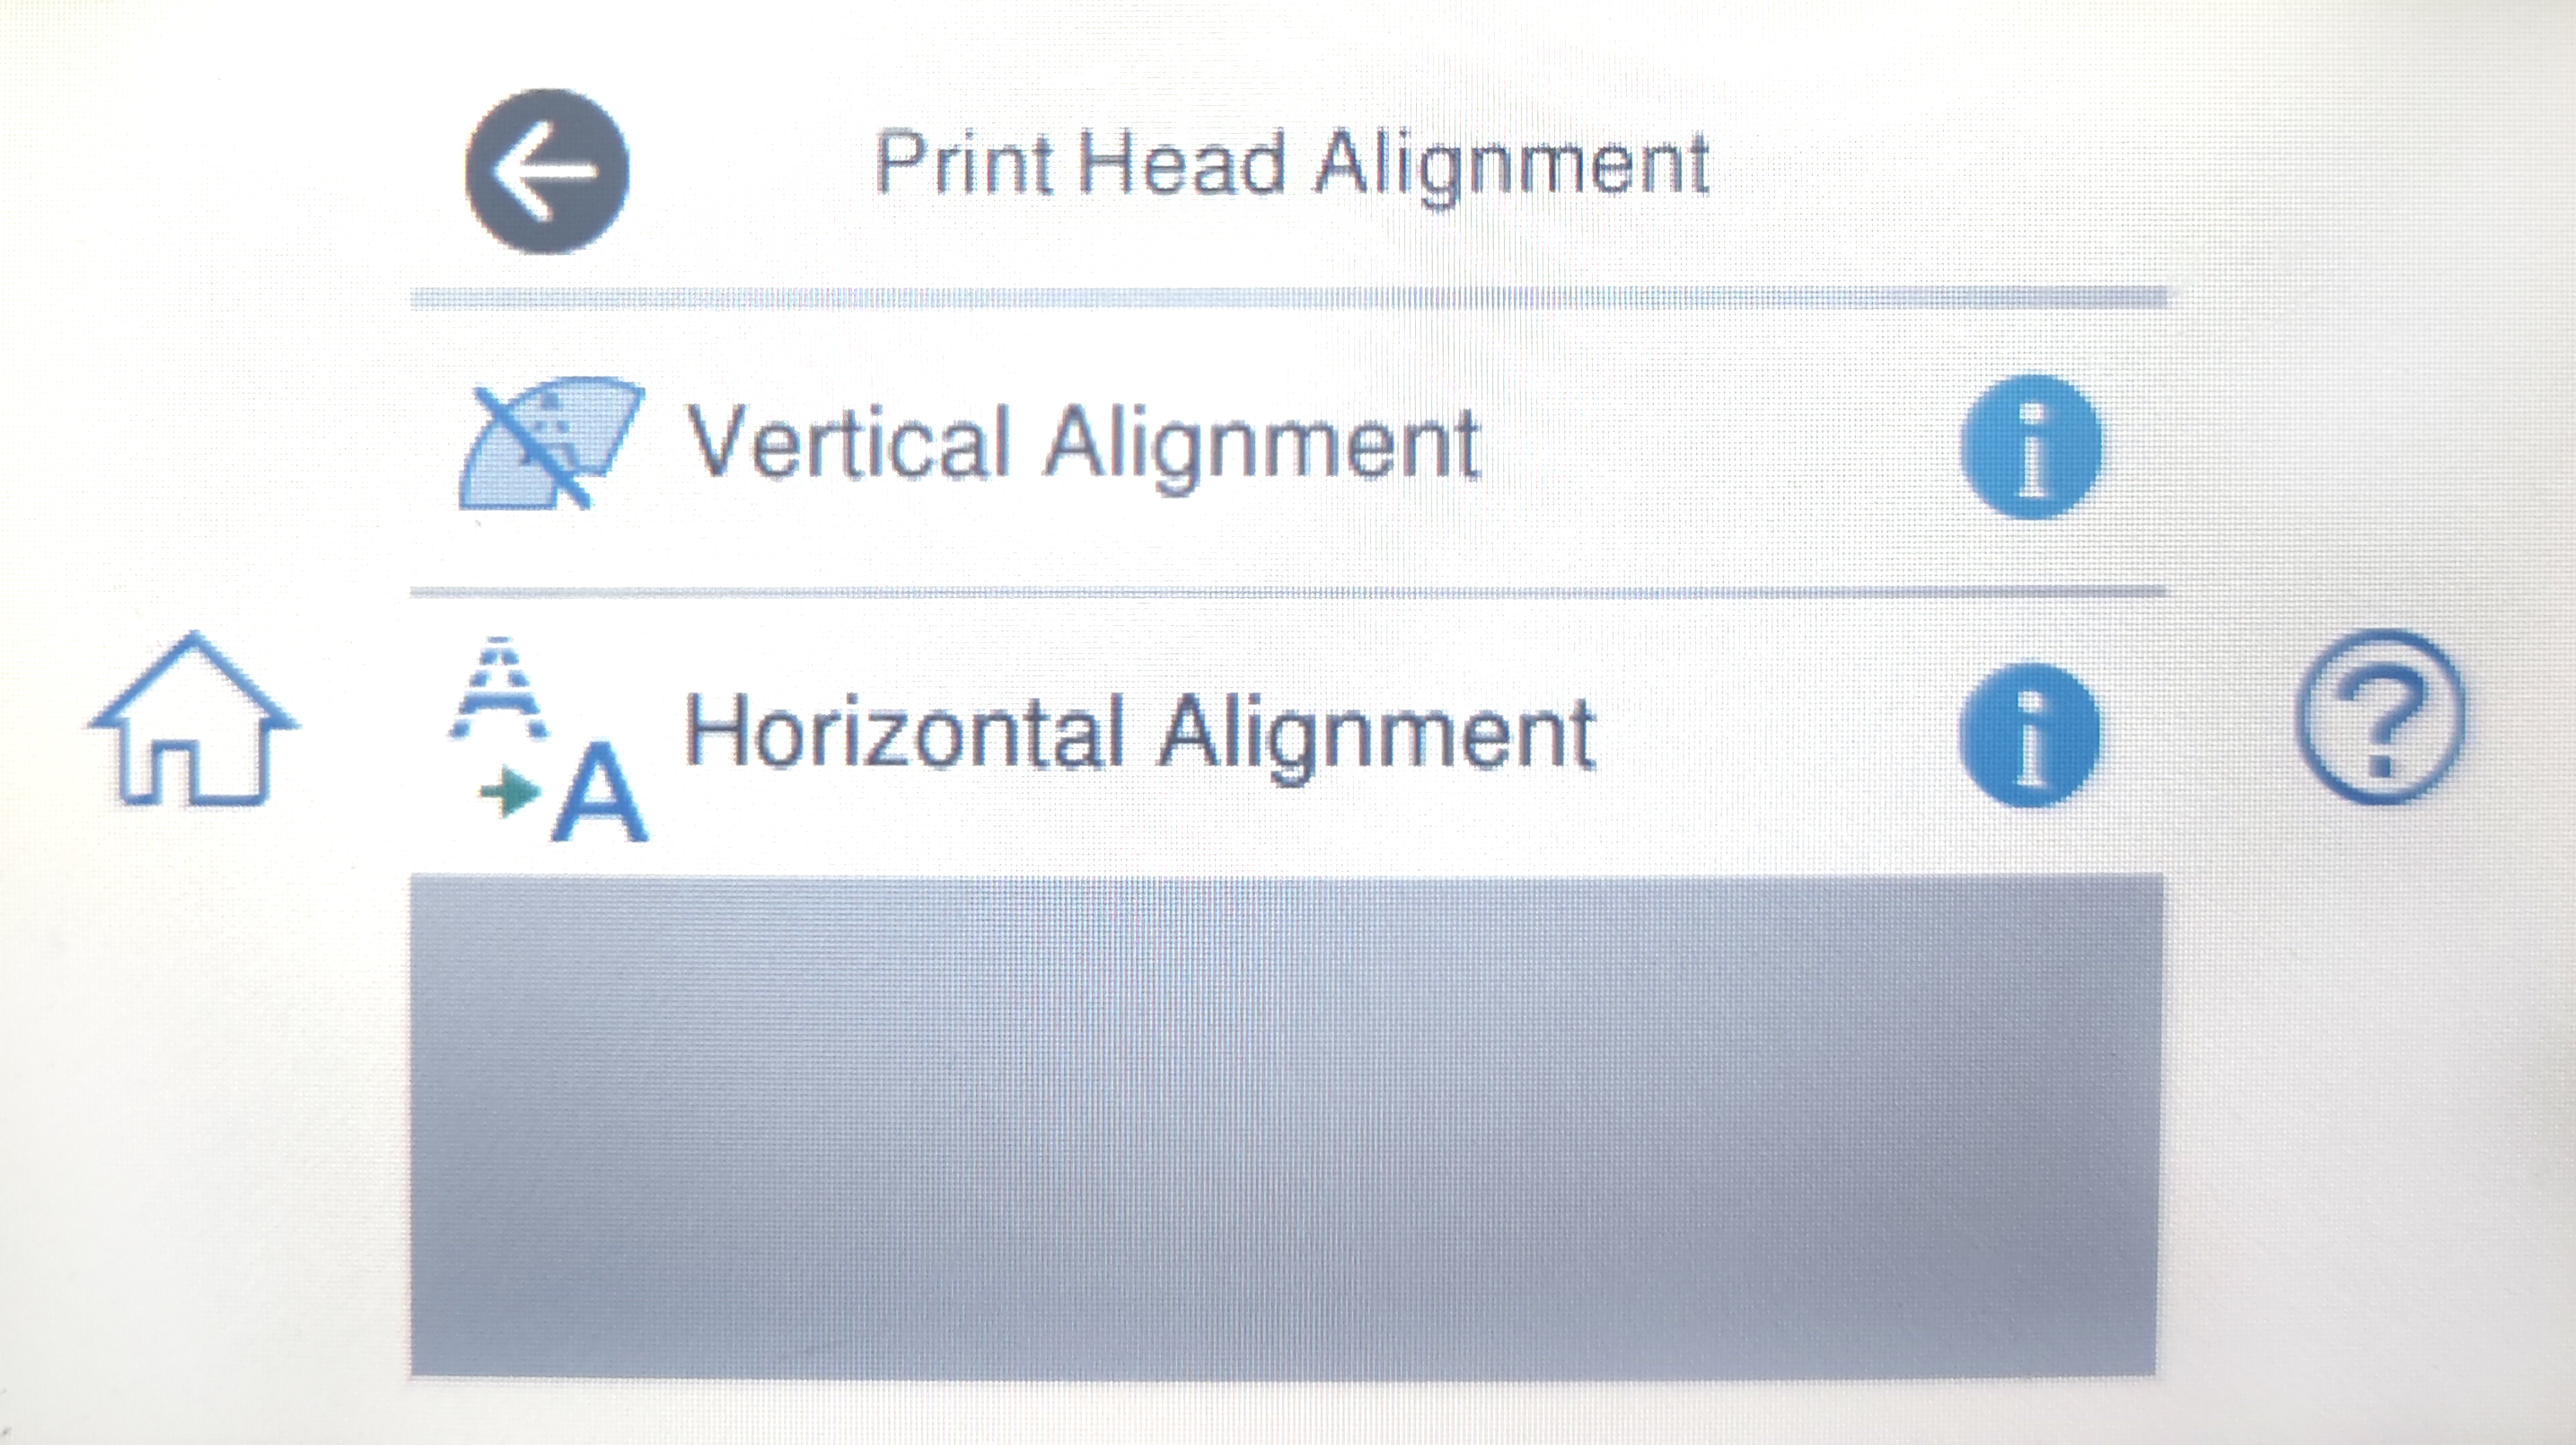
Firstly, remove the cartridge that caused the error from the cradle. Gently push out on the tab on the front of the cartridge. Reinstall the ink cartridge and you should hear it "click" into place. If the ink cartridge is still not being recognized, remove the ink cartridge from the cradle again. Confirm that there is a chip intact and in the correct location. If the chip is missing (Figure 2), you should return the cartridge to the place of purchase. If the chip is in place, you may need to clear it from any kind of obstruction or debris as this could be the cause of the error.

To clean the chip, you can use a pencil eraser. Brush the chip lightly with the eraser to remove any potential obstruction or debris. Or you can use any type of lint free cloth to gently wipe the chip (Figure 3), again to remove any type of obstruction or debris. Once this is complete, replace the ink cartridge in the cradle. If the problem persists, you need to reset the printer. This can be done by turning off the computer and the printer with the cartridge installed. Unplug your printer and let your machines off for 2 minutes. Restart the printer and computer, and try printing again. If you tried both steps and got the same error, there is most likely an electrical problem with the cartridge and you should return the cartridge to where you purchased it.

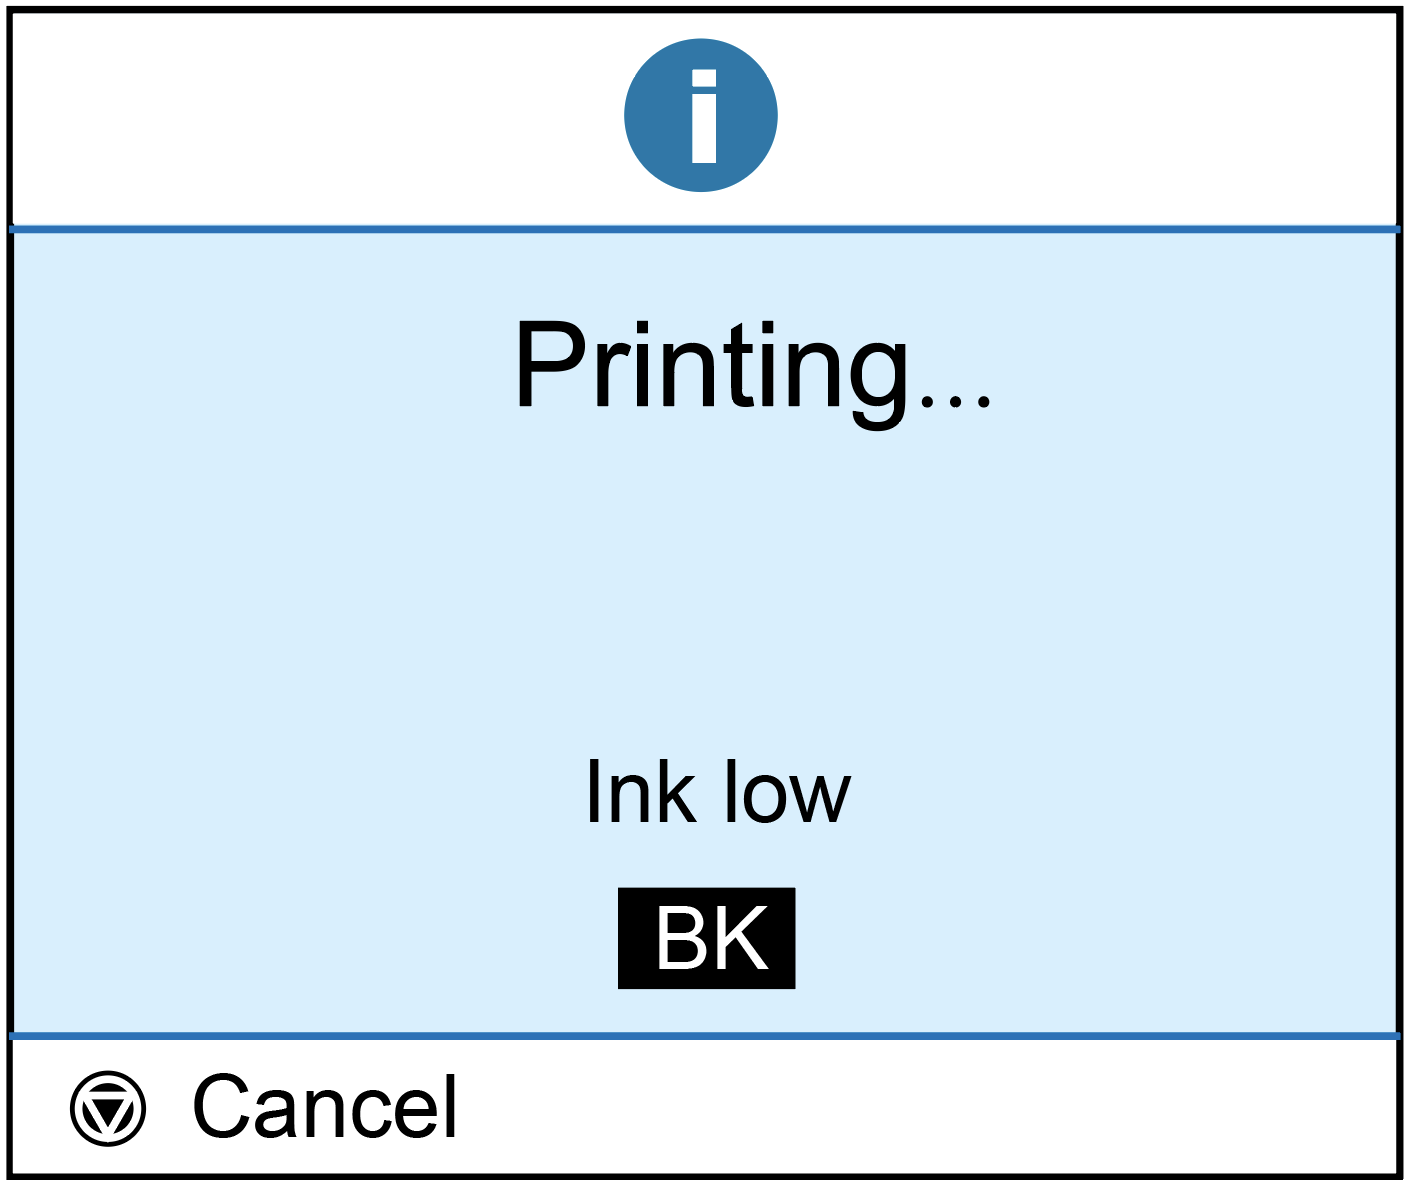
If your ink cartridges have been installed for a while and are printing well, your ink cartridges are low on ink and should be replaced as soon as possible. (Figure 1)
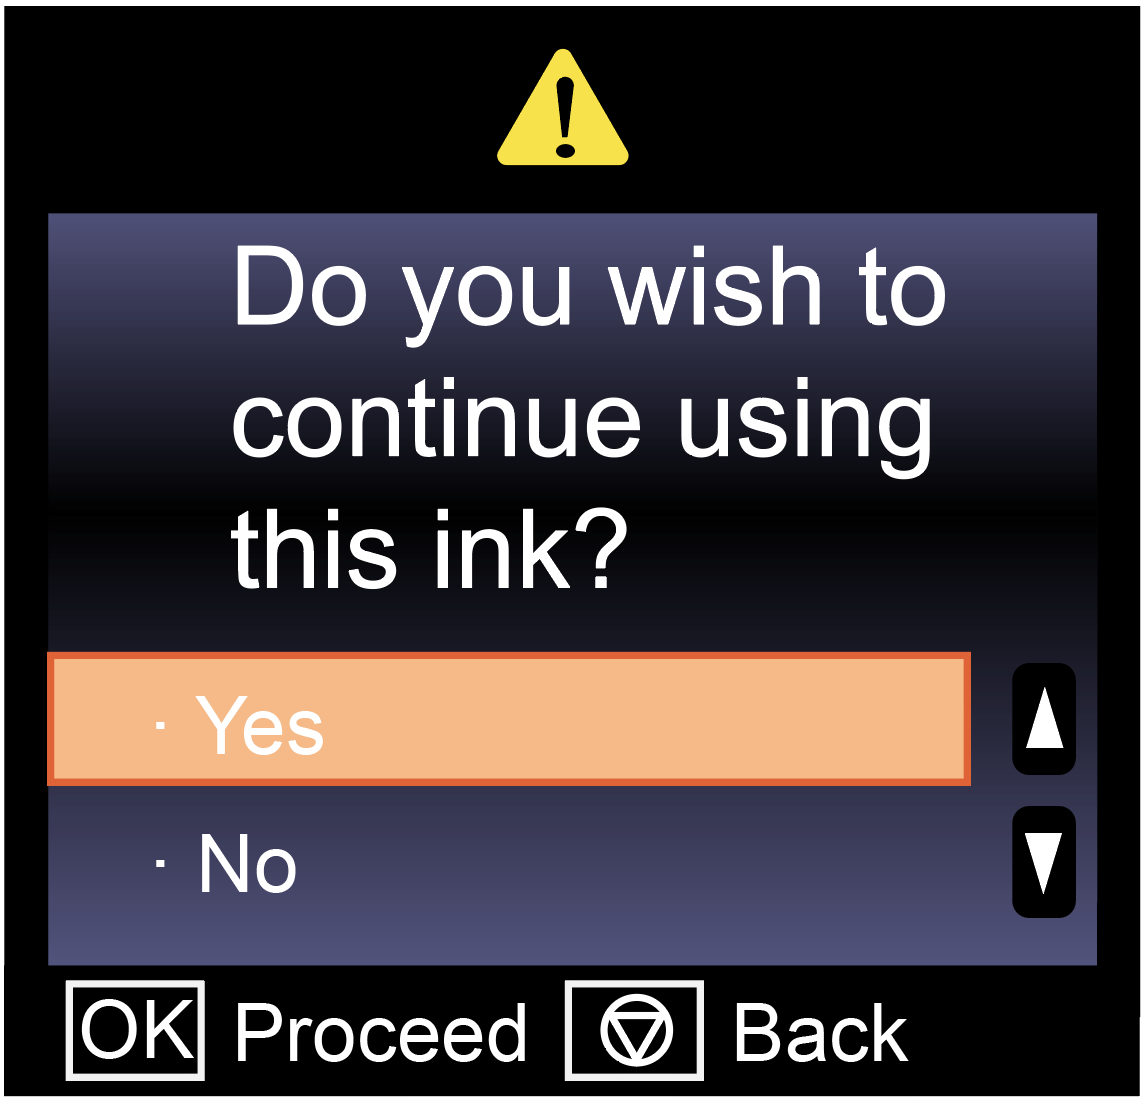
You can continue printing until the printer no longer recognizes that the ink cartridges are installed. At this point, you will need to replace the ink cartridges to continue printing. (Figure 2)
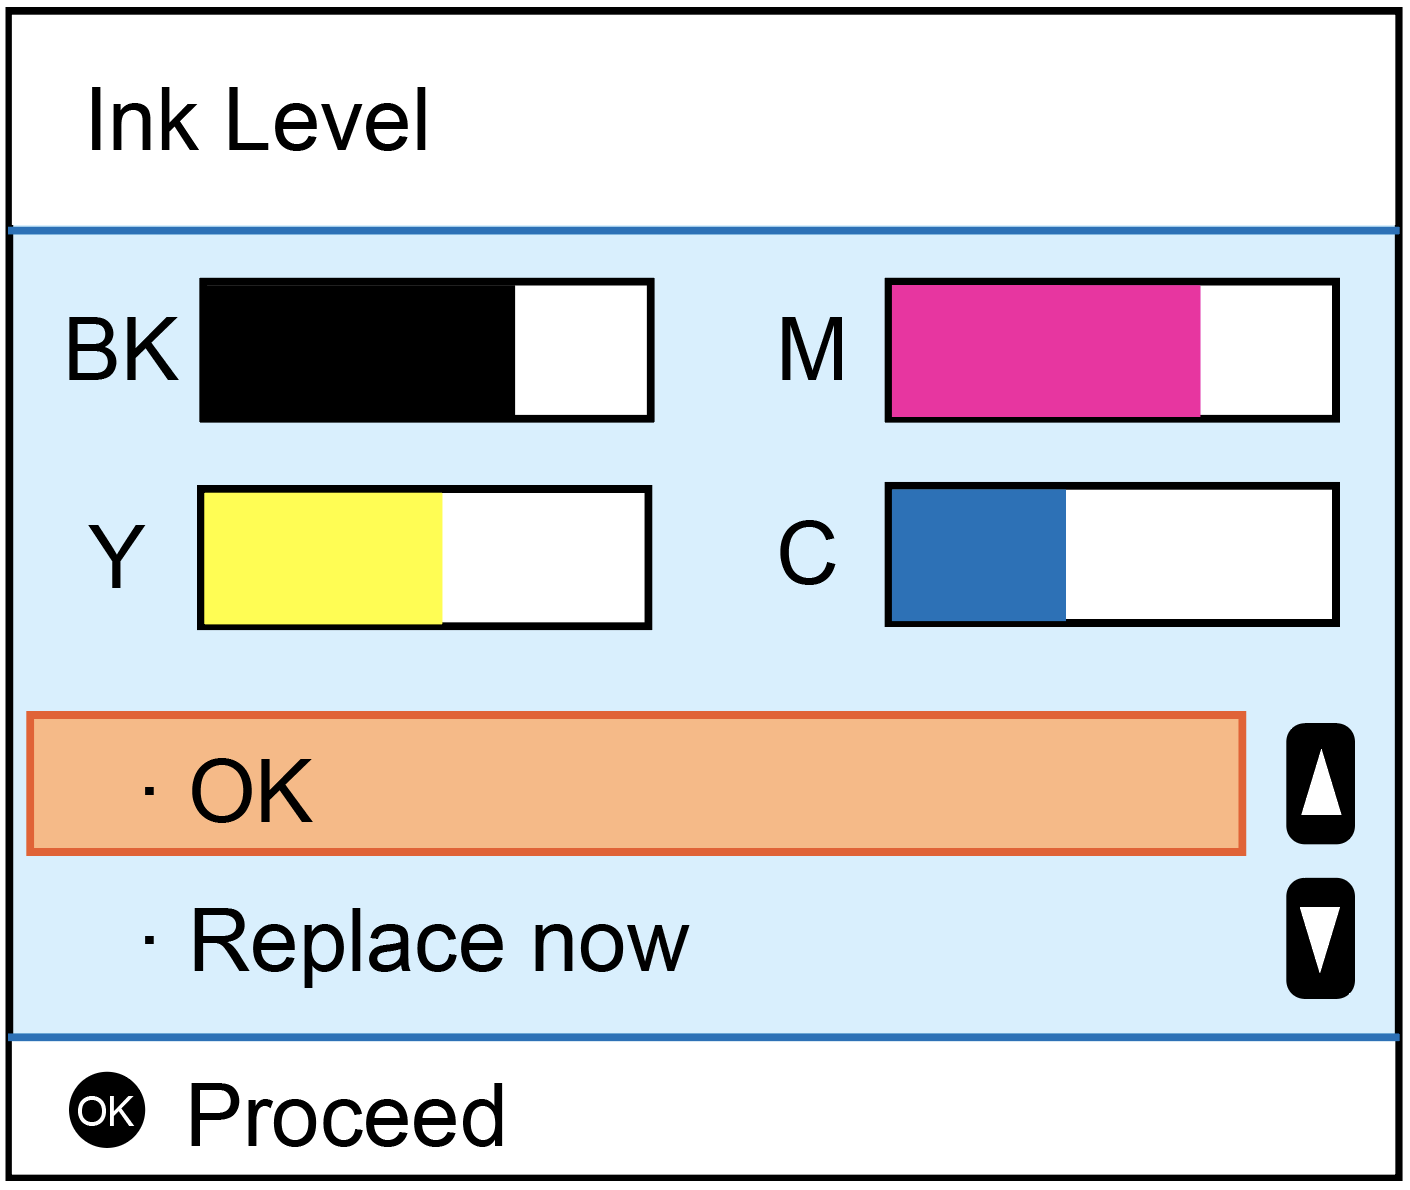
After replacing the ink cartridges, the ink cartridges will be recognized again and the exact ink levels will be displayed. (Figure 3) If you have just installed the ink cartridge and the ink levels display as low or empty, please remove the ink cartridge, take a lint free cloth to gently wipe the dust on the chip, and then replace the cartridge in the cradle. If the ink level is still low, it may be a problem with the chip. Plaese contact your dealer to replace the ink cartridge.
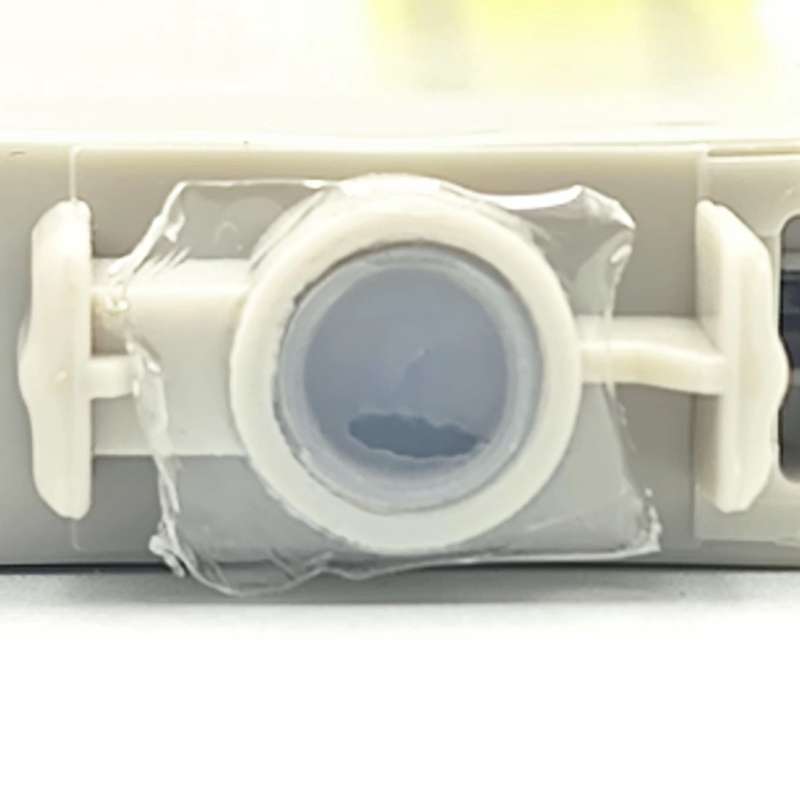
After the cartridge is removed from the printer, you need to make sure that the yellow pull tab covering the cartridge is removed. You also need to make sure that the seal of the printing fluid supply opening on the bottom of the cartridge has been punctured by the printer. (Figure 1)
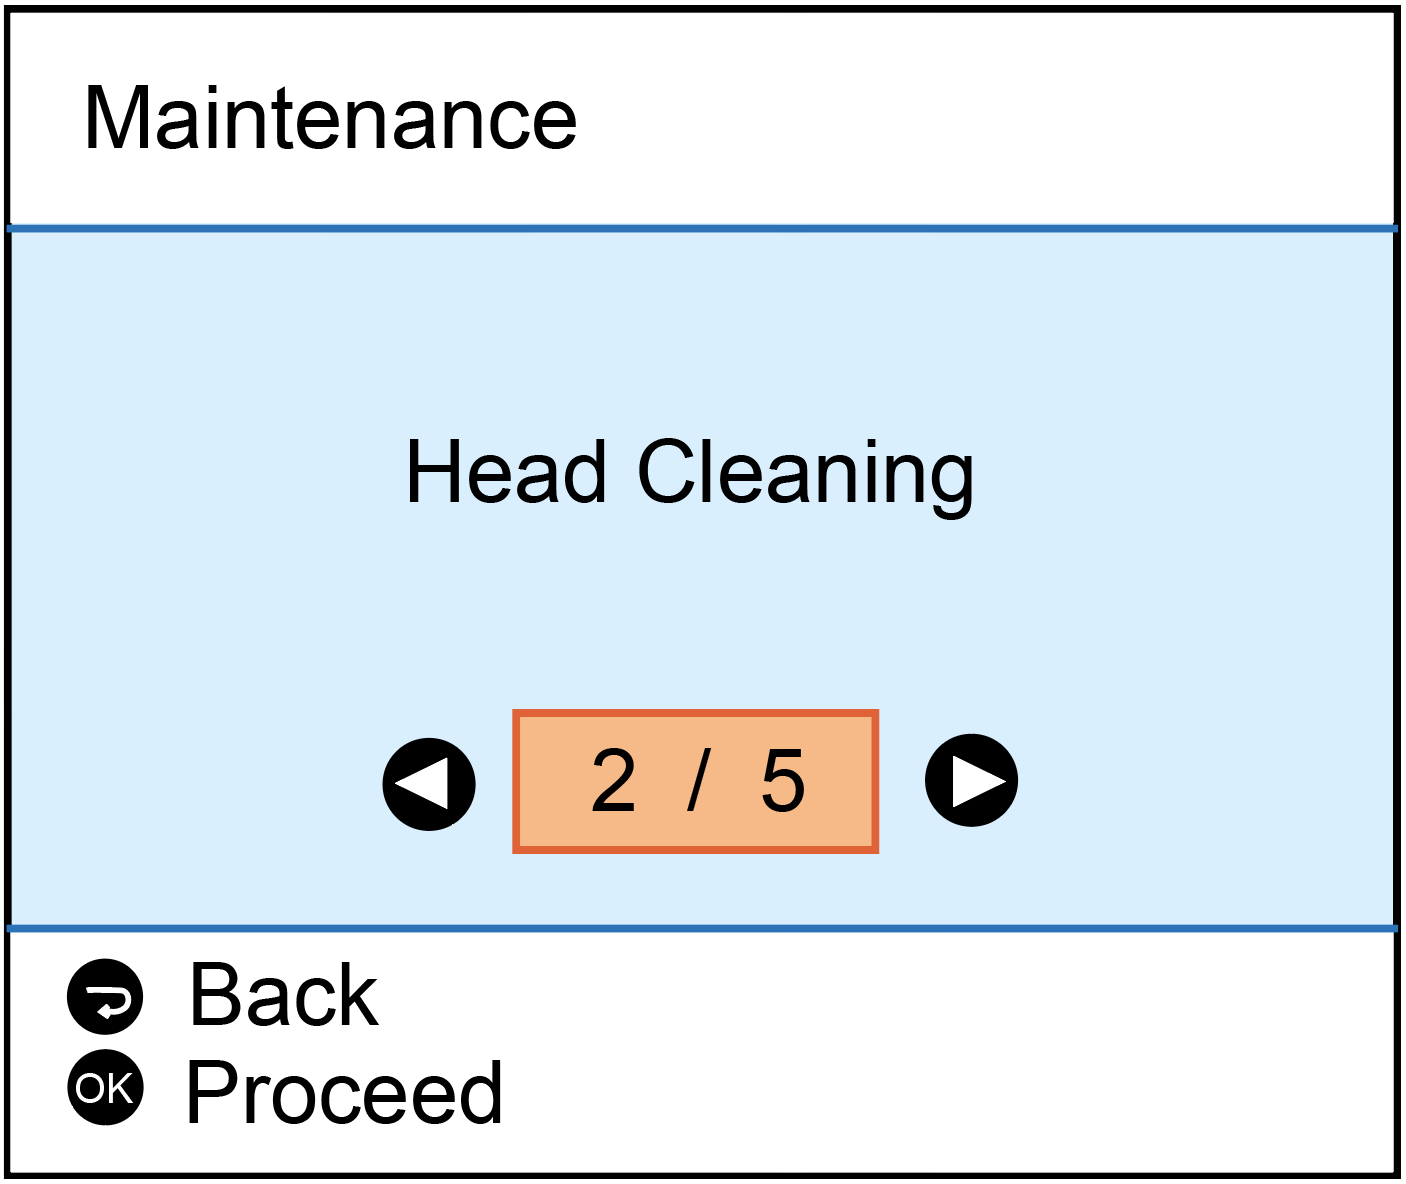
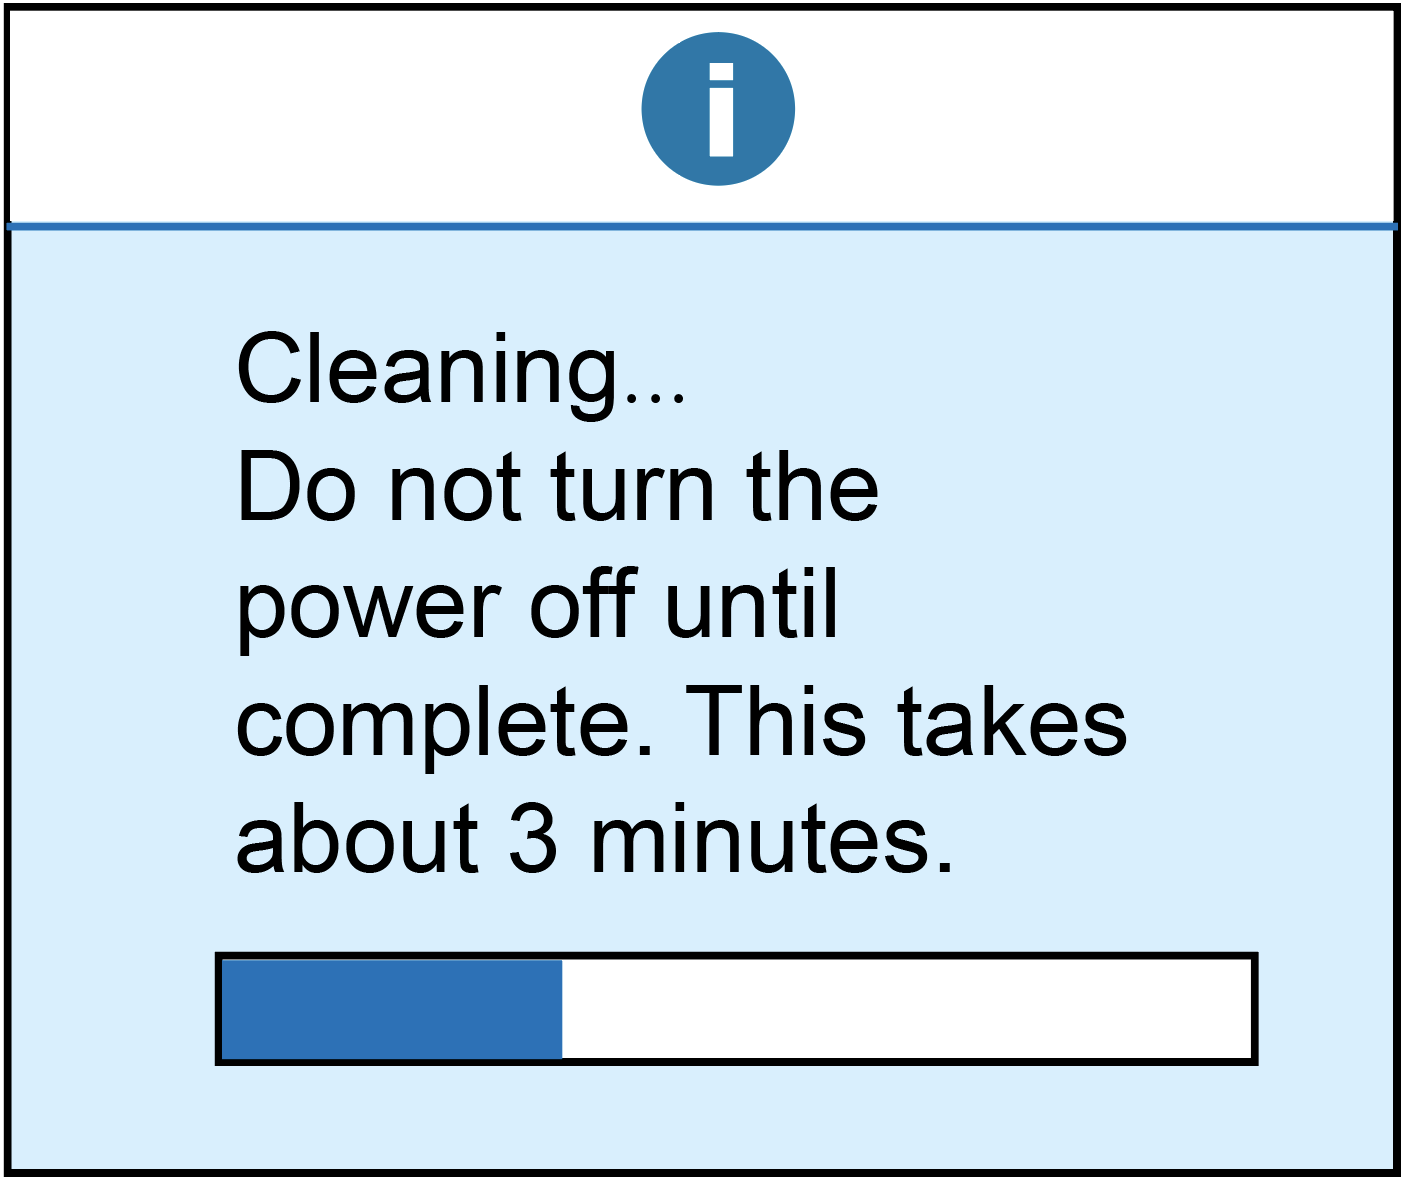
If you have removed the pull tab and the seal has been pierced, please reinstall your cartridge. You may need to perform a "Head Cleaning" to improve print quality. (Figure 2, Figure 3) It takes about 3-5 minutes. If the result is still not satisfactory, you can perform another cleaning cycle. Please note that cleaning the printhead does consume ink;and therefore, it should only be done when necessary. If print quality is unsatisfactory after the cleaning cycles, let the cartridges sit in the printer for 1 hour. After 1 hour, try printing again. At this point, you may find it helpful to remove the ink cartridges from the printer and reinstall them, but make sure the print quality is still poor after the cartridges have sat undisturbed for an hour before trying the last step. If you have followed all of these steps and the print quality is still not satisfactory, you may need to replace the inkjet cartridges.
If you receive an error message stating that the "The printer was unable to detect or read the alignment page" (Figure 1), this may indicate that the printer is not properly recognizing the cartridge.

Remove the cartridge from the printer and locate the chip. Make sure the chip is in place (Figure 2). Please remove any obstruction or debris as this may prevent the alignment from completing.

Gently wipe the chip with a lint free cloth to remove any obstruction or debris (Figure 3). Gently pull the tap on the front of the ink cartridge to help the ink cartridge fit into the printer properly. Reinstall the cartridge into the printer and try the alignment process again. If the error persists, it may be necessary to perform a "Head Cleaning" to improve the print quality (Figure 4) and complete the alignment process. Every printer is different, so please consult your printer's user manual for instructions on performing a "Head Cleaning" on your printer. If you cannot perform the "Head Cleaning", or if the alignment fails even after performing the "Head Cleaning", please make sure the scanner glass is clean and free from fingerprints or debris (this is only available on certain models). If these steps do not allow the printer to align the ink cartridges, you will need to return the ink cartridges to the place of purchase.

If you encounter an error message stating that "Ink cartridges are intalled incorrectly" (Figure 1), please try the following steps as possible solutions to resolve the problem.

Firstly, remove the cartridge that caused the error from the cradle. Gently push out on the tab on the front of the cartridge. Reinstall the ink cartridge and you should hear it "click" into place. If the ink cartridge is still not being recognized, remove the ink cartridge from the cradle again. Confirm that there is a chip intact and in the correct location. If the chip is missing (Figure 2), you should return the cartridge to the place of purchase. If the chip is in place, you may need to clear it from any kind of obstruction or debris as this could be the cause of the error.

To clean the chip, you can use a pencil eraser. Brush the chip lightly with the eraser to remove any potential obstruction or debris. Or you can use any type of lint free cloth to gently wipe the chip (Figure 3), again to remove any type of obstruction or debris. Once this is complete, replace the ink cartridge in the cradle. If the problem persists, you need to reset the printer. This can be done by turning off the computer and the printer with the cartridge installed. Unplug your printer and let your machines off for 2 minutes. Restart the printer and computer, and try printing again. If you tried both steps and got the same error, there is most likely an electrical problem with the cartridge and you should return the cartridge to where you purchased it.

If your ink cartridges have been installed for a while and are printing well, your ink cartridges are low on ink and should be replaced as soon as possible. (Figure 1)

You can continue printing until the printer no longer recognizes that the ink cartridges are installed. At this point, you will need to replace the ink cartridges to continue printing. (Figure 2)

After replacing the ink cartridges, the ink cartridges will be recognized again and the exact ink levels will be displayed. (Figure 3) If you have just installed the ink cartridge and the ink levels display as low or empty, please remove the ink cartridge, take a lint free cloth to gently wipe the dust on the chip, and then replace the cartridge in the cradle. If the ink level is still low, it may be a problem with the chip. Plaese contact your dealer to replace the ink cartridge.

After the cartridge is removed from the printer, you need to make sure that the yellow pull tab covering the cartridge is removed. You also need to make sure that the seal of the printing fluid supply opening on the bottom of the cartridge has been punctured by the printer. (Figure 1)

If you have removed the pull tab and the seal has been pierced, please reinstall your cartridge. You may need to perform a "Head Cleaning" to improve print quality. (Figure 2, Figure 3) It takes about 3-5 minutes. If the result is still not satisfactory, you can perform another cleaning cycle. Please note that cleaning the printhead does consume ink;and therefore, it should only be done when necessary. If print quality is unsatisfactory after the cleaning cycles, let the cartridges sit in the printer for 1 hour. After 1 hour, try printing again. At this point, you may find it helpful to remove the ink cartridges from the printer and reinstall them, but make sure the print quality is still poor after the cartridges have sat undisturbed for an hour before trying the last step. If you have followed all of these steps and the print quality is still not satisfactory, you may need to replace the inkjet cartridges.

